Growing your own roses from seed can be an extremely rewarding experience for any gardener. It allows you to cheaply increase your flower garden and you can create your very own hybrids. You must have some patience as it does take several years for your plants to start blooming and reach complete maturity. However, if you want to experiment and have some fun with you plants give it a try!
1. Collect Rose Seeds
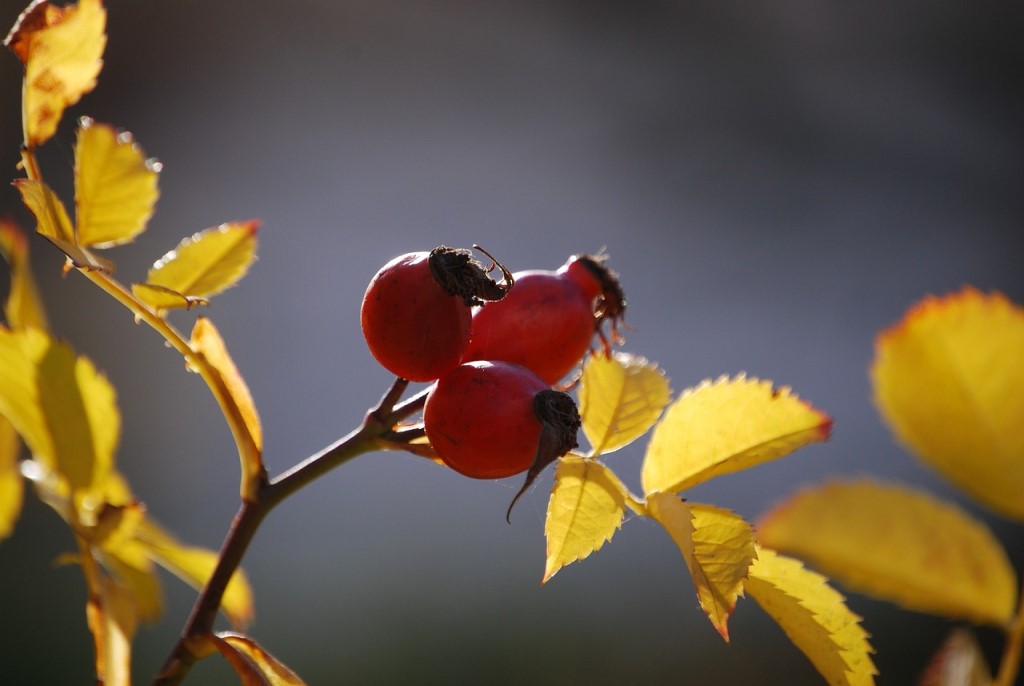
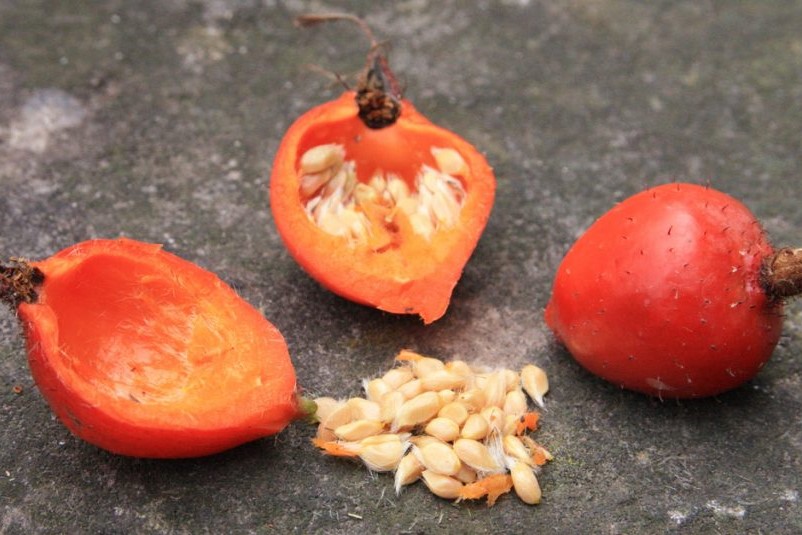
Rose seeds can be found in what is called the rose hip. This is the oblong shaped structure on the base of the flower. Often times when it reaches maturity it will turn a red, orange, or yellow color. The seeds can be collected directly from the hips, or the whole hips can be stored in the refrigerator for a few weeks until you are ready to plant. To extract the seeds, cut the rose hip in half with a knife. Simply take the seeds out. Now that you have a collection of seeds it is time to move on to the next step.

2. Rinsing and Soaking your Seeds
Now you will want to rinse off all of the plant material from the seeds. This can be done using 5% bleach and some type of purified water. Try and get all of the plant residue off of the seed. After they are cleaned you will need to soak them in a 3% peroxide solution for 24 hours. You can then strain the seeds off and do any final cleaning.

3. The Float Test
To test your seeds for viability a simple float test is recommended. Simply get a bowl or glass and fill it with water. Next, put all of your seeds in the water. The ones that float will potentially not germinate. It is suggested that you discard these and not waste your time on them. Any seeds that sink to the bottom should theoretically be good.
4. Stratifying your Seeds
This is an optional step that some will say helps increase the germination rate of your seeds. Basically, it is to simulate the cold winter months and get the seed to think its spring. There are 3 different ways that I have found to be adequate.
- Get a moist paper towel and place your seeds on it. Fold the paper towel in half and place it in a plastic storage bag. You can then store it in the refrigerator for 6-10 weeks. Do not let these seeds freeze. You can also soak the paper towel with a peroxide solution to minimize any mold that may grow.
- Place your seeds in small pots filled with a seed starting soil. Seal the pots in storage bags and place in the refrigerator for 6-10 weeks. After this period you can simply take them out and put in a warm area. Keep the pots moist during this time so the seeds don’t dry out.
- Get a small jar or some sort with a lid that seals. Fill the jar with moist sand and layer your seeds in it. Keep the jar cool around 34-38 degrees F for 6-10 weeks. At the end of this period they are ready for planting.
5. Planting your Seeds
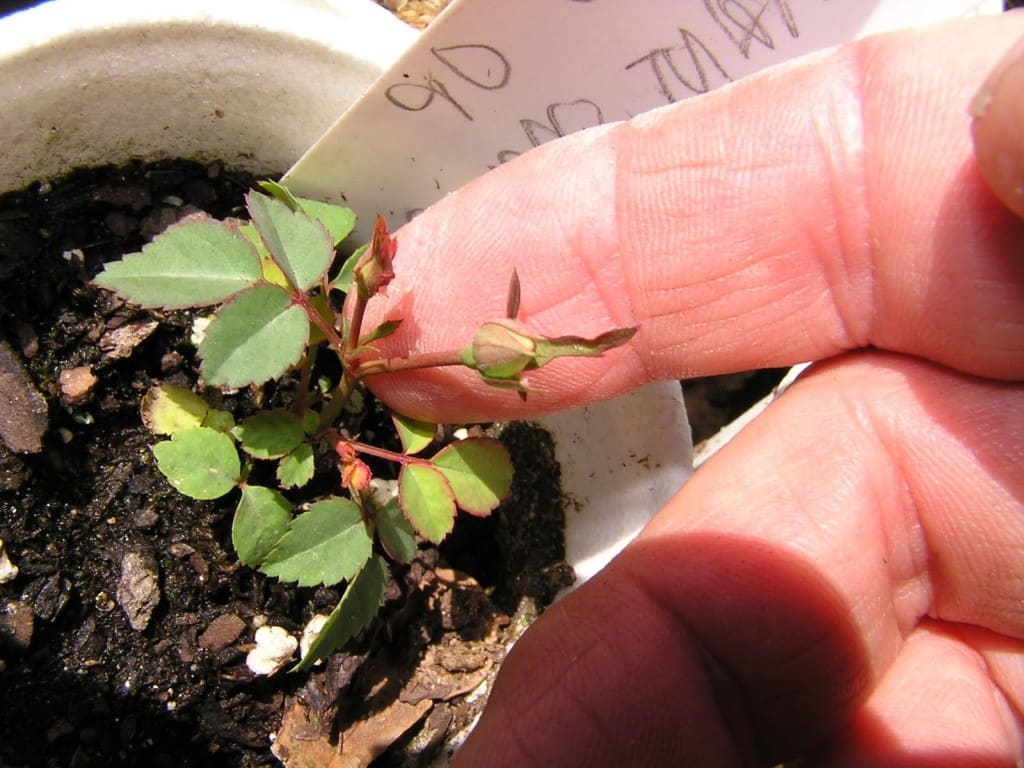
To plant your seeds you are going to need some small seed starting pots. Next fill the pots with a mixture of 50% potting soil and 50% vermiculite. This can be purchased at any gardening center. If you prefer you can purchase a number of pre-mixed seed starting soils. Next, place your seeds in the soil about 1/2 inch deep. If you desire Captan can be sprinkled over the top of the soil. This is a fungicide that will prevent damping off of your young seedlings. Place the pot in a warm area and keep the soil moist. You don’t need to have a grow light or sun until the first seedlings start to appear. Keep a close eye on your pots, the first seedlings ar very small. Once they have sprouted you can move them to a lighted area and keep watered.

6. Transplanting your Seeds
You can transplant your new seedlings after any danger of frost has passed. Keep watered and protected. Have patience with your new plants as it take about 3-5 years until you will see any blooms from them. If you are in an area that has harsh winters make sure you mulch and protect your plants well before it freezes.
Have fun with growing your very own rose bushes from seed!
